
Rewrapping Vape Batteries
Rewrapping Vape Batteries
Every vaper knows the problem: after a while, the protective wrap on your batteries can get damaged. That’s especially frustrating when the battery is still fairly new. But you don’t have to throw it away straight away – you can rewrap it with a new protective sleeve, also known as a battery wrap. It may sound tricky at first, but it’s actually pretty straightforward if you keep a few things in mind. Here, we’ll show you how it works and what to watch out for. Whether rewrapping is worth it is up to you. Among other things, it depends on whether only the wrap is damaged or the battery itself is damaged too. If it really is just the wrap and the battery is no more than around six months old, it can definitely be worth doing. It doesn’t take much time, and the cost is manageable.
Where can I get the right battery wraps, and what should I look out for when buying them?
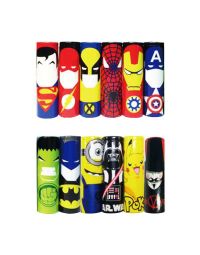
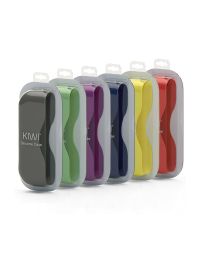
You can usually get wraps from a vape retailer you trust, whether that’s online or in a physical shop. The important thing is knowing the size of your batteries. Wraps are normally available for common battery sizes such as 18650 and 21700. You’ll find all kinds of designs from various manufacturers. Whether you prefer plain, single-colour wraps or a cartoon-style look, the choice is yours. Prices vary depending on the manufacturer and the design of the replacement wraps.
So how does it actually work?
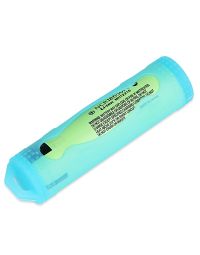
In simple terms, it’s a plastic sleeve that shrinks when heated. Of course, you shouldn’t go overboard with the temperature, otherwise the wrap may shrink too much or the battery could be damaged. In the worst case, the battery can vent. Following the motto “less is more”, it’s best to work your way up slowly. Ideally, you’ll have a heat gun to hand. A regular hair dryer will also do the job, although it may take a little longer depending on the model. Gas torches and lighters are not suitable, even though some people do use them to rewrap batteries. Extreme caution is required here. We definitely do not and would not recommend this method.
Step by step
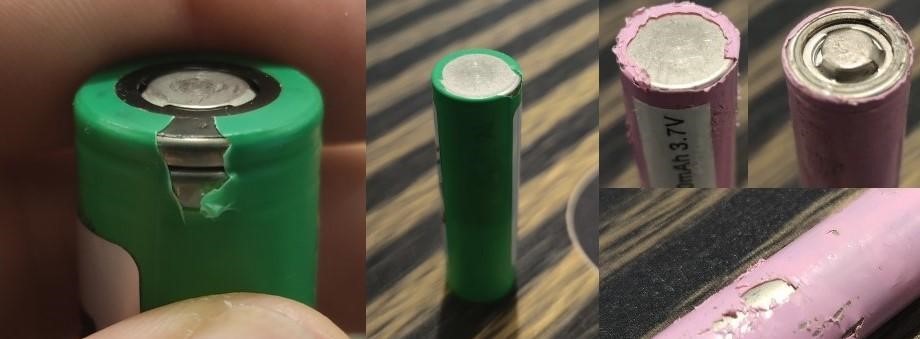
Note:
If your battery looks like the one in the image above, do not use it under any circumstances. It can lead to short circuits.
Preparation

Once you’ve laid out your batteries, wraps and the tools you need, we recommend clearing away any metal objects you don’t need. A clean workspace helps prevent accidents and gives you the best chance of getting the result you want. If you’re wrapping batteries for the first time, it helps to have a few spare wraps on hand. You might get “lucky” (or simply have the knack) and nail it on your first try, but early failed attempts are part of the process and not the end of the world. So it definitely doesn’t hurt to have a few extra wraps ready. Nobody becomes a pro overnight, so go for it.
Step 1:


Carefully remove the old wrap without damaging the battery. Ideally, use ceramic tweezers. The small ring (red arrow) must not be damaged under any circumstances – it’s an important insulator that you’ll need again later (unless you have a replacement).
Step 2

Now carefully slide the new wrap over your “bare” battery. Ideally, the battery should sit centred inside the wrap (top/bottom). Then place the insulator on the positive terminal.
Step 3

Don’t set the hair dryer or heat gun too high. We recommend “testing” the device on a low setting first; you’ll quickly see whether the heat is sufficient or whether it can/should be increased. To stop the insulator on the positive terminal from blowing away, we recommend starting there. Once the insulator is secured by the wrap, you can move on to the rest of the battery. Please make sure you don’t heat the battery too intensely or focus the heat on one spot. If the wrap gets too much heat, it will shrink more than you want and may get damaged. Gently and evenly heat the battery all the way around, moving the dryer up and down until you’re happy with the result.
Result

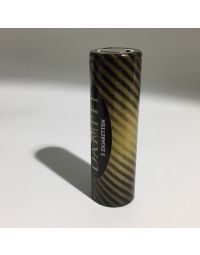
With a little effort and a small budget, your batteries should ideally look as good as new afterwards and can be used again with confidence.