

How to Build and Wick Your Own Vape Coils
Building and Wicking Your Own Vape Coils
The world of vaping has plenty of variety, from prefilled pods (pre-filled pod tanks) and stock-coil tanks to rebuildable atomizers. Most people first get into vaping with a starter kit, and these usually use replaceable coil heads. A stock coil is a small coil head that, whatever its shape or size, always works on the same basic principle. Inside a small metal housing, wire or mesh is surrounded by cotton; e-liquid reaches the cotton through small ports and soaks in. When the wire heats up, the e-liquid is vaporised. For beginners, this is very easy to handle and completely fuss-free. Then there’s the option for hands-on vapers and tinkerers: building and wicking your own coils. Stock-coil tanks aren’t designed for that, so you’ll need a different type of atomizer (e.g. an RTA, RDA or RDTA). We’ll take a closer look at those later in the article.
What’s the Advantage?
For a long time, vapers chose rebuildables because they could get more flavour, more vapour and more fun out of their atomizer. They’re also cheaper to run than stock-coil tanks. These days, stock-coil tanks have come a long way and, thanks to mesh coils, now deliver excellent flavour and plenty of vapour too. Even so, building your own coils is still an exciting topic to get into. After that fairly lengthy intro, let’s dive into the basics of rebuilding.
What’s Involved and What Are the Differences?
Put simply, you clamp or screw a wire coil into the atomizer, pull cotton through the coil, and you’re done. That’s only the basic principle, though; in practice, there are a few more things to keep in mind. Just like with stock-coil tanks, there’s MTL (mouth to lung) and DL (direct lung) vaping. MTL is usually vaped at higher resistance with less airflow, while DL is usually lower resistance (sub-ohm) with more airflow. The ohm value tells you how much resistance the current meets as it passes through the wire. The higher the ohm value, the less power (watts) you need. Conversely, the lower the ohm value, the more power is required. When you build your own coils, there are two common setups: single coil (one coil is used) and dual coil (two coils are used). Of course, there are also atomizers that can take more than two coils, but they’re more of an exception. There are also mesh atomizers, which use a wire mesh or screen. The principle is similar, but the construction is a little different. Which type of atomizer you want to build on doesn’t matter here; the process is always the same (except for mesh atomizers).
The Different Models and Variations
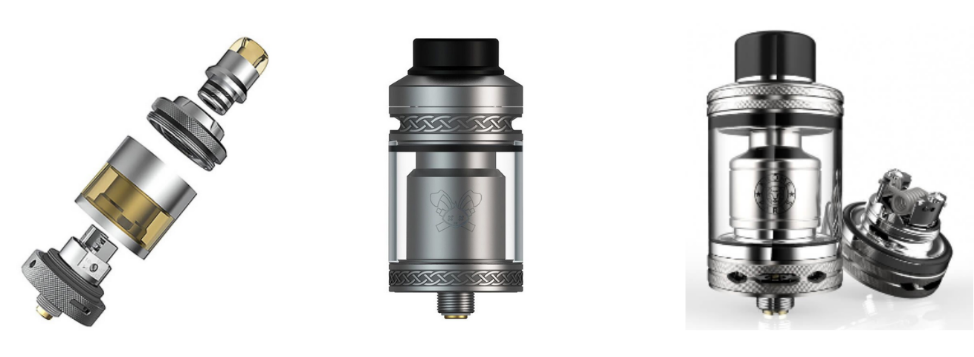
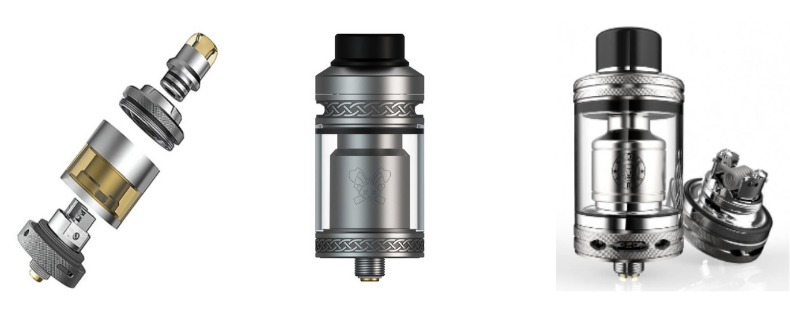
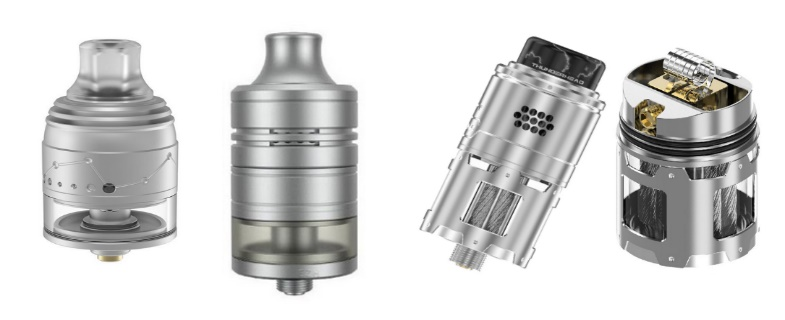
There are several types of rebuildable atomizer:
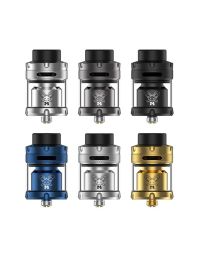
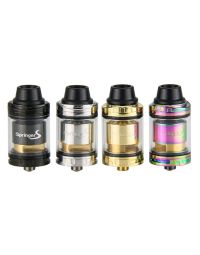
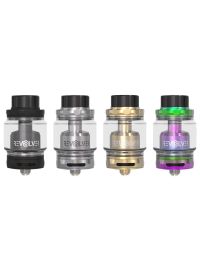
a) RTA (Rebuildable Tank Atomizer)
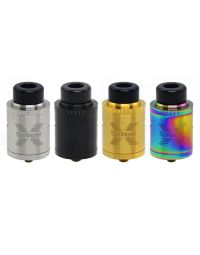
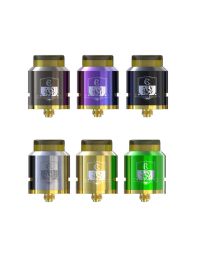
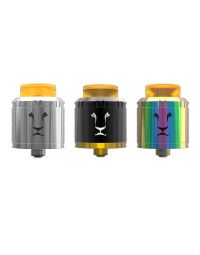
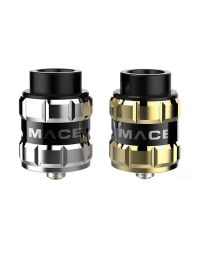
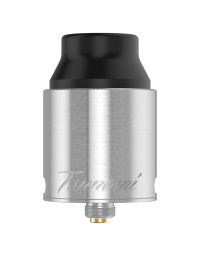
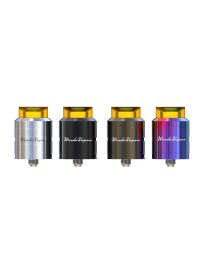
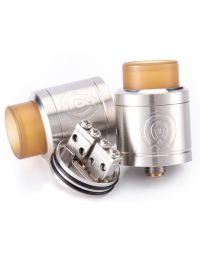
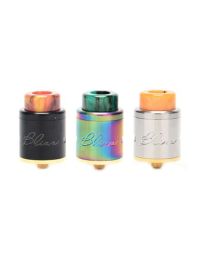
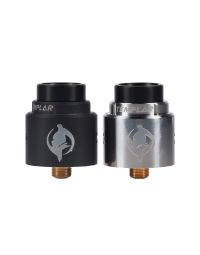
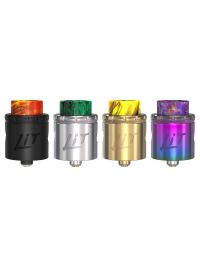
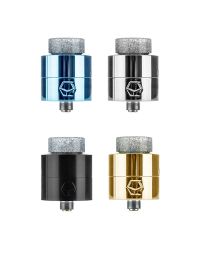
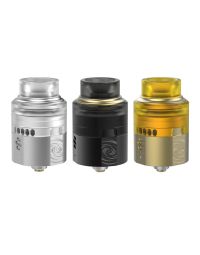
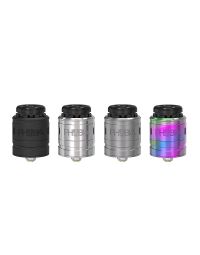
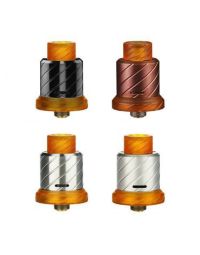
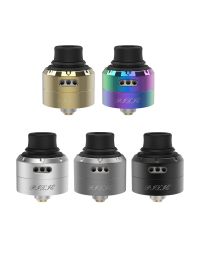
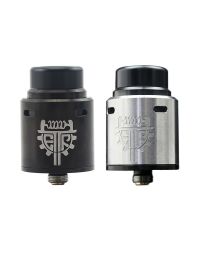
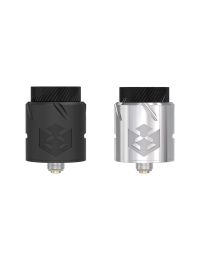
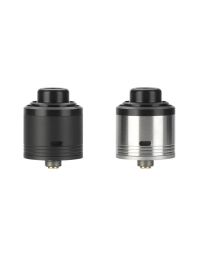
b) RDA (Rebuildable Dripper Atomizer), dripper
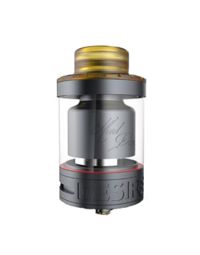
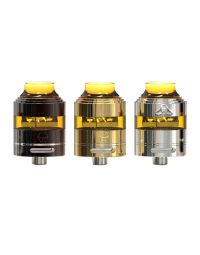
c) RDTA (Rebuildable Dripping Tank Atomizer), top-coiler
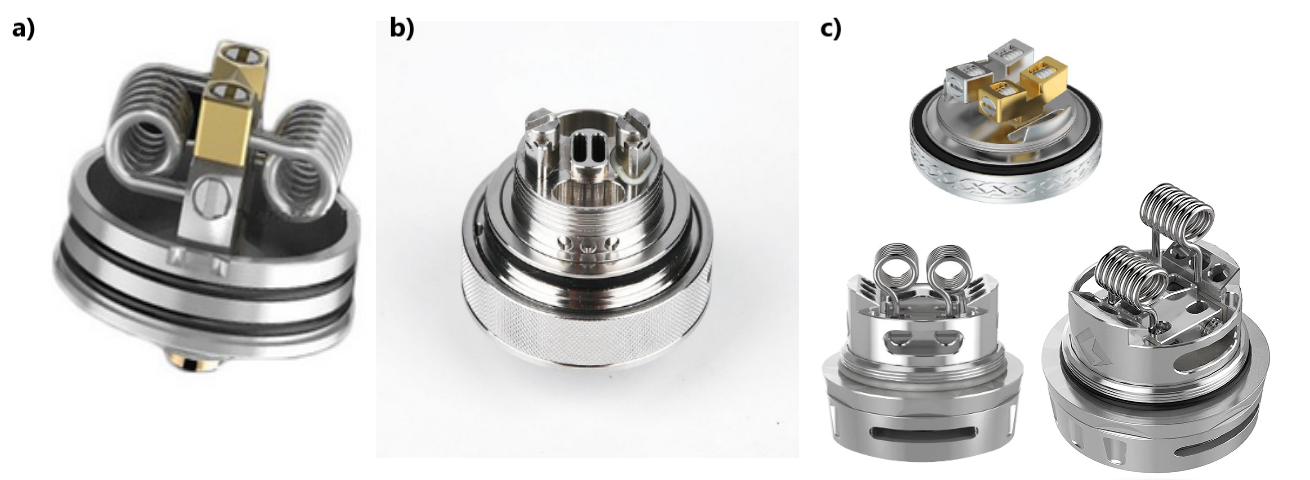
Here are a few different build decks:
a) Velocity deck
b) Post deck
c) Postless decks
What Do You Need to Build Your Own Coils?
The most important thing is a coil; to begin with, a pre-made one will do just fine. With more practice and experience, you can also wrap your own (using wire from a spool). You’ll also need wicking cotton. A small pair of side cutters, a coil jig, tweezers (preferably ceramic tweezers) and scissors should be part of your kit too. These are extra purchases, but you’ll make up the additional cost fairly quickly. Various coil-building kits are available; some are more extensive, while others are fairly minimal. For getting started, a small kit is absolutely enough. Any extra accessory is nice to have, but not a must-have.
To illustrate and explain the process, we’ll use the MTL single-coil deck of an RTA here.
Preparation – What Do You Need?
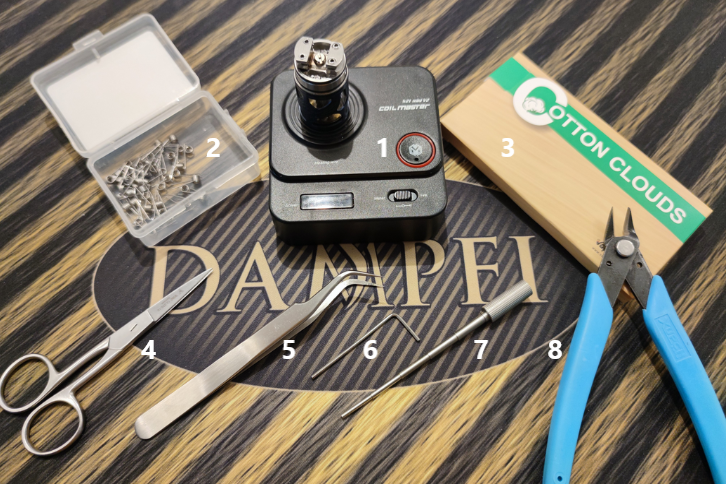
1. Build stand
Ohm meter or regulated mod for reading the coil resistance and dry-burning the coil
2. Coils
in this case, pre-made coils made from simple wire (great for practising at the start)
3. Cotton
here we’re using shoelace cotton; it just needs to be cut to length
4. Scissors
the sharper, the better
5. Tweezers
ideally ceramic tweezers (non-conductive); the ones shown also work very well
6. Tool for loosening/tightening the screws
most RTA atomizers include the right tool
7. Coil jig
for preparing, positioning and stabilising the coil during installation
8. Side cutters
ideally (as shown here) with small, pointed cutting jaws
Preparing the Coil
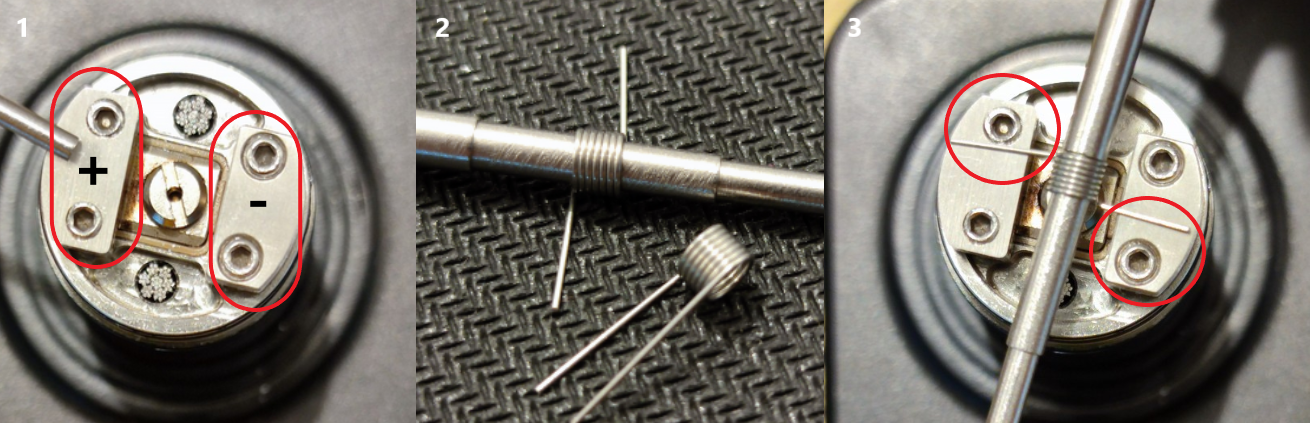
1. The positive post is on the left and the negative post is on the right
2. Align the coil to suit the deck. Use a coil jig here so you don’t move or crush the wraps. Bend both legs into position at the same time.
3. Quickly check whether it fits. Whether the rounded side of the coil faces up or down depends on the atomizer deck.
Installing the Coil
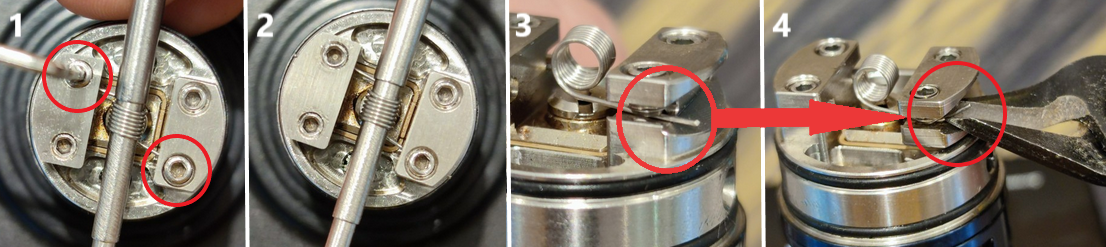
1. Only loosen the screws you actually need. Insert the coil and use the coil tool to hold it centred; tighten the screws loosely in case the coil still needs adjusting. Once everything is sitting where it should, tighten the screws firmly. CAUTION: don’t overdo it — after tight comes stripped or snapped.
2. Align the coil properly once more. Ideally, it should sit centred in the build deck or atomizer chamber.
3. + 4. Cut off the excess wire cleanly. It’s very important to clip the wire as close to the deck as possible. Later on, it must never touch the atomizer chamber; otherwise you’ll get a short circuit.
Dry-Burning the Coil (IMPORTANT)
Using the ohm meter or mod, carefully pulse the coil at low power to dry-burn it.
Don’t use too much power, as the wire can glow too quickly and snap.
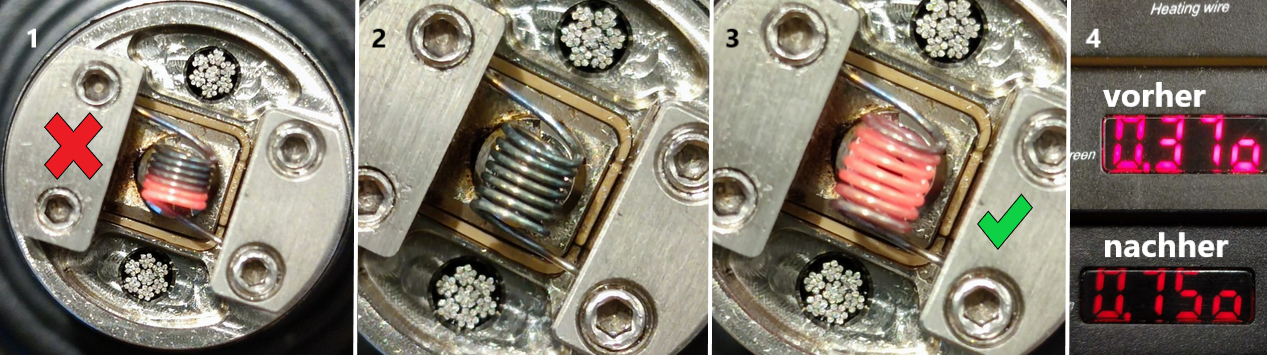
1. This glow pattern shows that the current is not flowing evenly and that the coil is heating on one side. Individual bright glowing spots (hotspots) can also appear. These must be removed too.
2. Hotspots and an uneven glow pattern are easy to fix. Either separate the individual wraps of the coil (so they don’t touch directly) or gently strum across them with the tweezers. With ceramic tweezers, you can do this while firing. With metal tweezers, only touch the coil when you are NOT firing! (You may need to do this a few times until the coil dry-burns properly.)
3. When the coil glows evenly from the inside out, everything is good and we can move on to the cotton.
4. Right after installation, the ohm meter will show an ohm value. Depending on the material, this may differ from the manufacturer’s stated value (for the coil). After dry-burning, the value should be the one specified by the manufacturer. There are tolerances here (example: manufacturer’s specification = 0.50 ohm, tolerable values = 0.40 – 0.60 ohm. The higher the coil resistance, the wider the tolerance can be). The reason is that you may have added or removed half a wrap. That means the amount of wire used for this coil is slightly more or less. Many manufacturers also measure the complete coil, whereas we cut a piece off the legs, which reduces the resistance slightly. The conductivity of the wire used also changes once it has been dry-burned; this depends on the wire material used.
Wicking the Coil
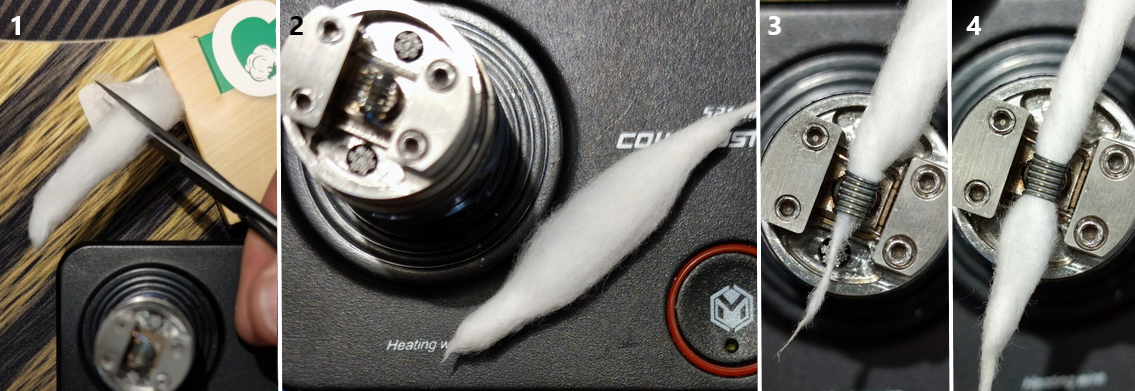
1. Tear or cut off a lengthwise strip of cotton. How long this piece should be depends on the atomizer and the coil. Little by little, you’ll get a feel for it. I use my finger as a guide. With my finger size, a piece of cotton about two finger joints of my index finger long works well.
2. Hold the cotton at both ends and gently twist it into a roll.
3. Pull the cotton through the coil while twisting it. In my experience, screwing the cotton in makes it slide through the coil more easily.
4. Position the piece of cotton in the centre. It shouldn’t sit too tightly; you should be able to pull it back and forth without pulling the coil out of shape.
Trimming and Fitting the Cotton
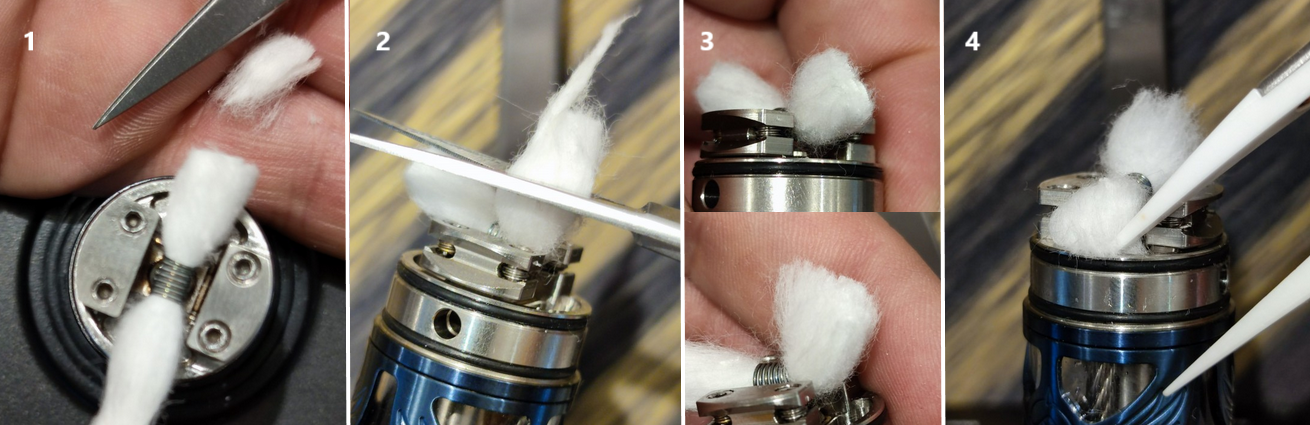
1. Trim the cotton at the sides. How long or short it needs to be depends on the deck. Here, trial and error is the best approach.
2. Cut the other end of the cotton to the same length.
3. In the top image, you can see that the cotton is a bit compressed from cutting. Depending on the atomizer design, this can affect wicking. In the lower image, the cotton has been fluffed up a little so it can feed e-liquid to the coil properly.
4. Here, the cotton is placed into the cotton well provided for it. First, this is just to test whether the cotton is long enough.
If you’re happy with the result, you can lay the cotton into place on both sides.
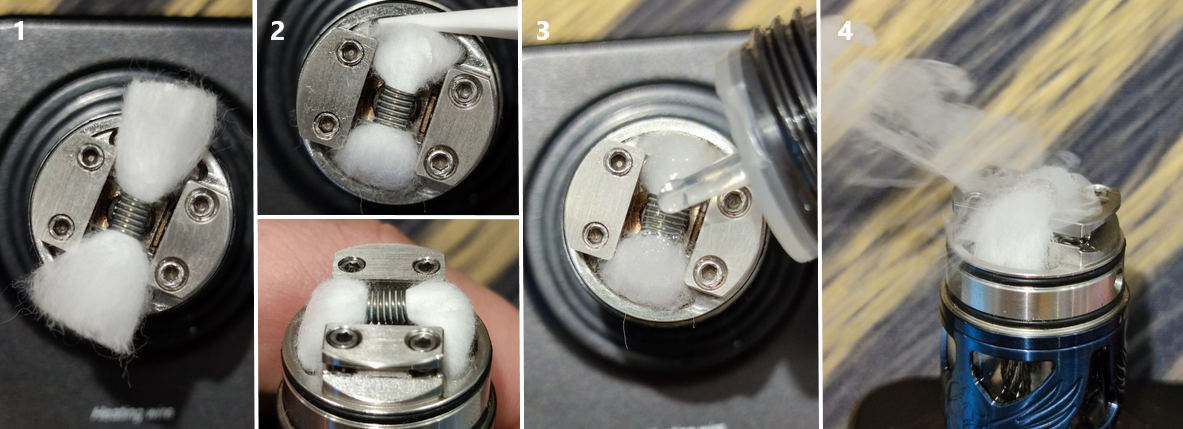
1. Top view of the build with cotton.
2. The cotton has been placed in both wells and fits. At the coil, the angle of the cotton should not be too steep, otherwise you can get dry hits (the coil has no contact with the cotton and glows).
3. Now you can add e-liquid to the finished build.
4. Moment of truth: you can fire it for a test.
Now assemble the atomizer and be sure to check the resistance again. If, for example, a piece of wire touches the atomizer chamber, the mod will display Atomizer short. Even if the resistance is far from the target value, you should check the build again.
It’s actually not rocket science, and anyone can learn it. I wish you lots of success and fun rebuilding your atomizer.
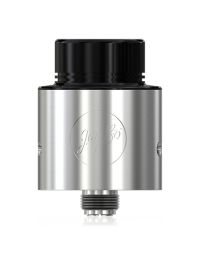


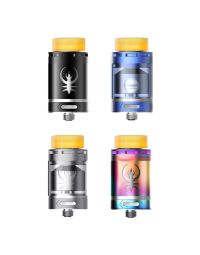
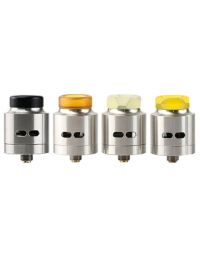
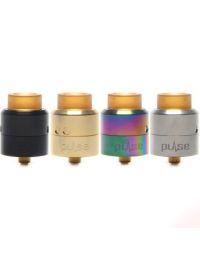
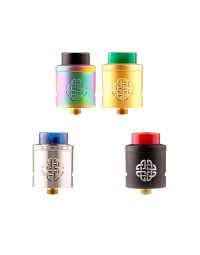
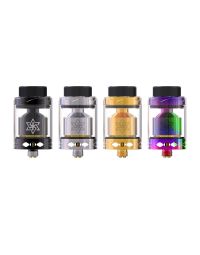
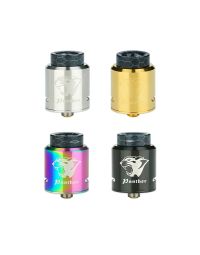
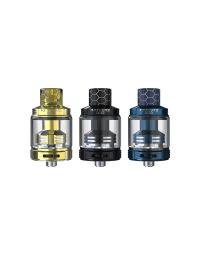
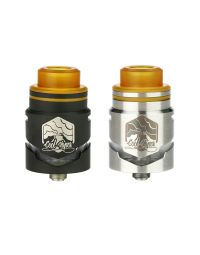
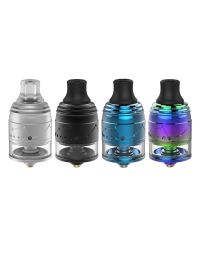
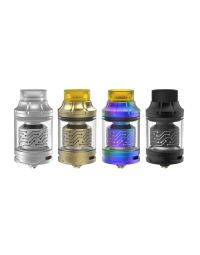
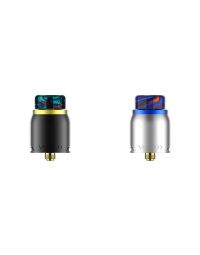
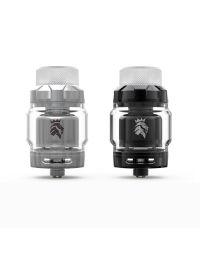
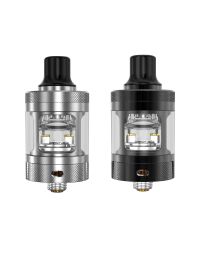
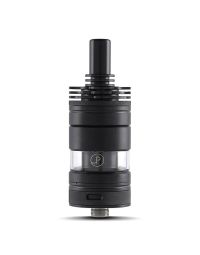
![SvoeMesto Kayfun [lite]](https://www.dampfi.ch/en/media/catalog/product/cache/6e07d0e8b94185af26caa986d2b4aaa2/s/v/svoemesto-kayfune-lite-01.jpg "SvoeMesto Kayfun [lite]")

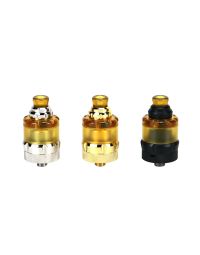
![SvoeMesto Kayfun [lite] Special Edition](https://www.dampfi.ch/en/media/catalog/product/cache/6e07d0e8b94185af26caa986d2b4aaa2/s/v/svoemesto-kayfun-lite-special-edition.jpg "SvoeMesto Kayfun [lite] Special Edition")

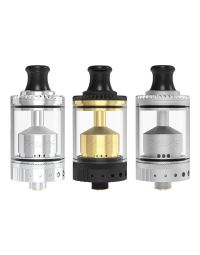
![Stattqualm SQuape A[rise] RTA 22mm MTL](https://www.dampfi.ch/en/media/catalog/product/cache/6e07d0e8b94185af26caa986d2b4aaa2/s/t/stattqualm-squape-arise-rta-22mm-mtl-1.jpg "Stattqualm SQuape A[rise] RTA 22mm MTL")