

Rebuildable Atomizers: Beginner’s Guide and Tips
Guide: My First Rebuildable Atomizer
Contents
1. Introduction
Building your own coils is something many vapers have heard of, but at first glance it can seem a bit too complicated. Don’t be put off: it’s really not that difficult, and it opens up a whole new world for any vaper.
With stock-coil tanks, you’re usually limited to two or three different coil options. With rebuildables, you’re completely free to choose the resistance and wire characteristics – and with them the amount of vapour and intensity of flavour.
For example, I can build my atomizer so it only needs 25W. On the other hand, I can set up the very same atomizer so it runs at 80W. Big clouds or smaller ones – with a rebuildable, you’re simply more flexible than with a stock-coil tank. All you need is a little time, patience and, most importantly, the urge to try something new and do a bit of tinkering.
2. Which rebuildable is right for you?
Just like stock-coil tanks, rebuildables come in MTL and DL versions. Even so, we generally split them into four different types. Let’s take a closer look at them: how they differ, their pros and cons, and how you build them.
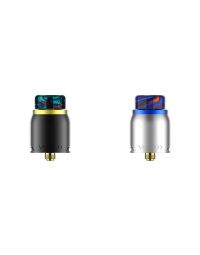
2.1 RDA - Rebuildable Drip Atomizer
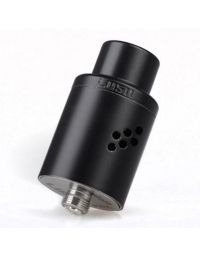
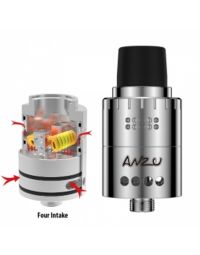
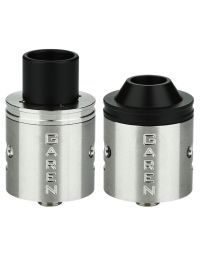
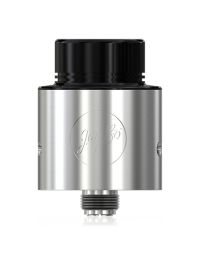
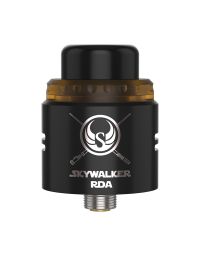
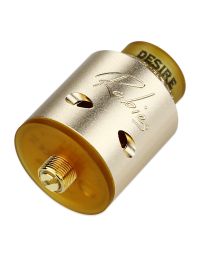
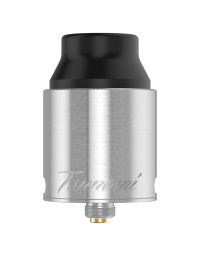
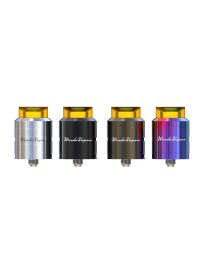
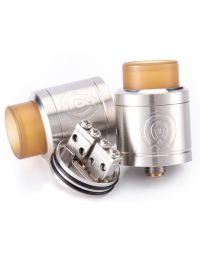
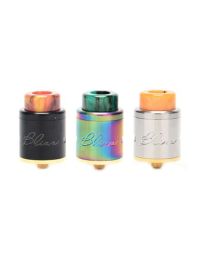
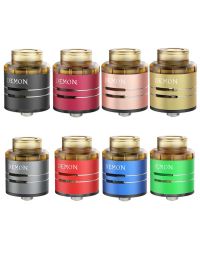
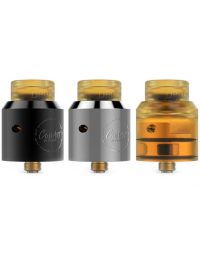
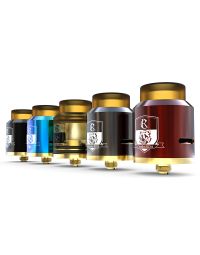
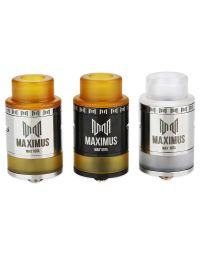
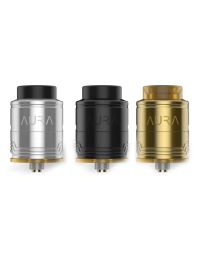
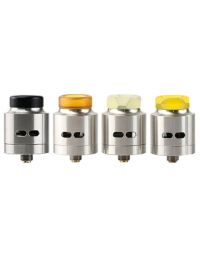
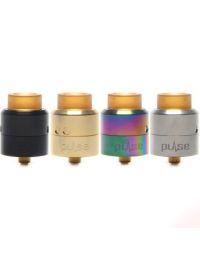
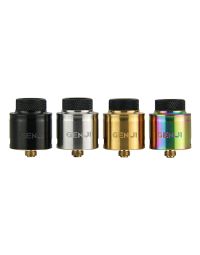
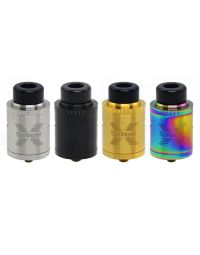
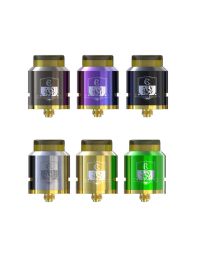
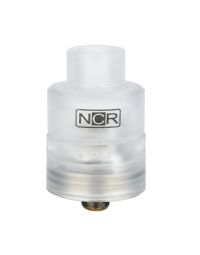
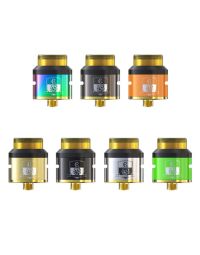
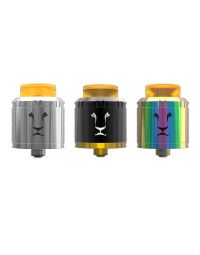
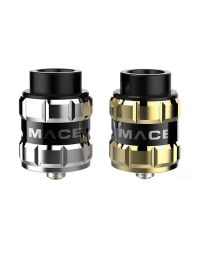
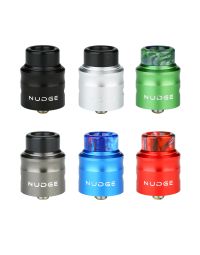
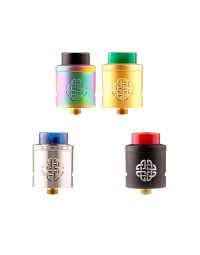
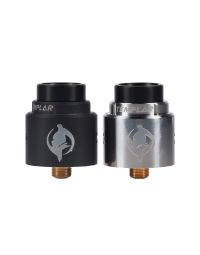
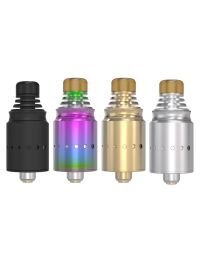
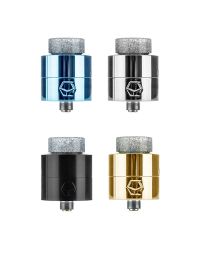
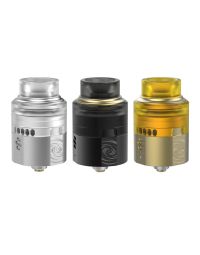
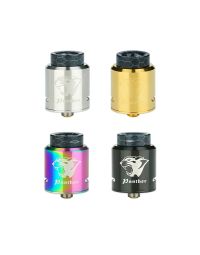
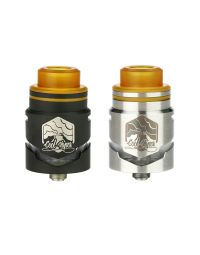
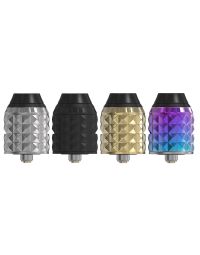
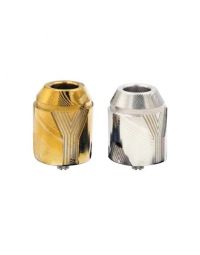
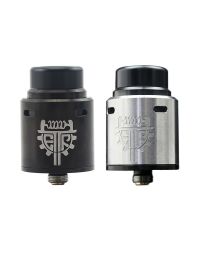
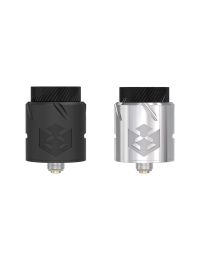
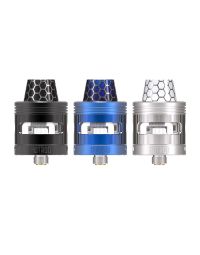
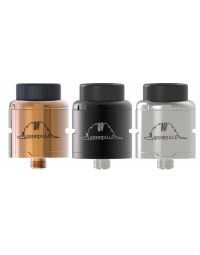
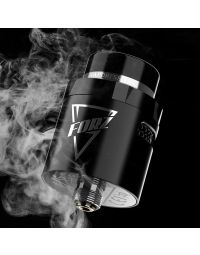
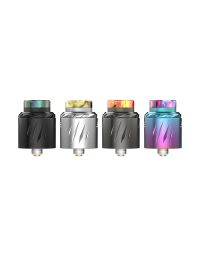
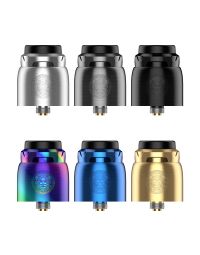
RDAs – also known as drippers – are the simplest rebuildable atomizers. In most cases, they’re available as mesh, dual-coil or single-coil atomizers. The name “dripper” comes from the fact that they don’t have a tank; you usually drip e-liquid from above, through the mouthpiece or after removing the top cap, directly onto the cotton and the coil(s).
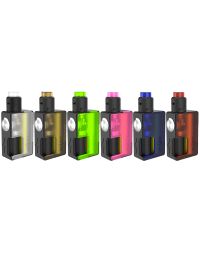
Many newer models have a positive pin with an opening running up through it. These are designed for using the RDA on a squonk mod. In general, drippers are the most common type of atomizer on squonk setups.
The build – there isn’t too much to watch out for when building, because you “only” need to lay the cotton down into the juice well. Of course, make sure the airflow is open as intended and isn’t blocked by the cotton.
We won’t go into more detail here, because every atomizer is built a little differently. Our recommendation: watch tutorials on YouTube. You’ll find one for pretty much every atomizer, and you’ll see the best way to set up the model you’re using.

|
Pros
|
Cons
|
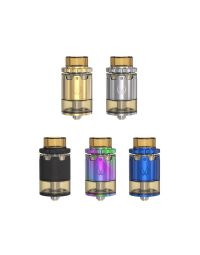
2.2 RDTA - Rebuildable Drip Tank Atomizer
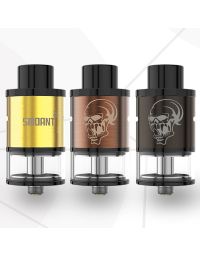
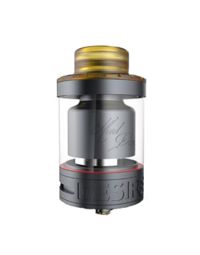
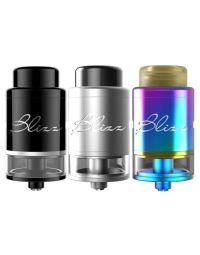
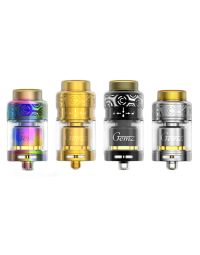
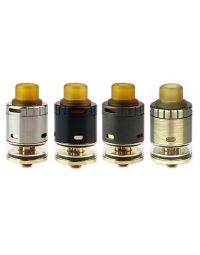
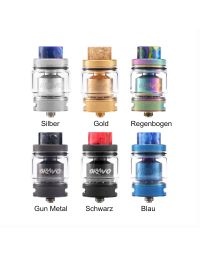
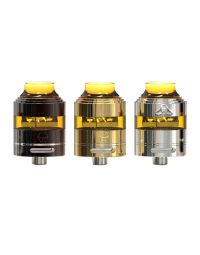
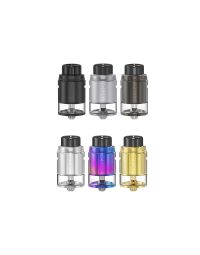
RDTAs are basically RDAs, but unlike a pure RDA they have a tank underneath the build deck. So you get a tank that feeds the coils and cotton with e-liquid, while still being able to drip without any hassle if you want to. RDTAs are built almost exactly like RDAs, with the small difference that instead of laying the cotton into the juice well, you guide it down into the tank. There’s really only one thing to watch out for here: make sure the openings down into the tank are fully covered by the cotton tails, but not packed too tightly. Otherwise, the tank can leak if you ever lay the device on its side.

|
Pros
|
Cons
|
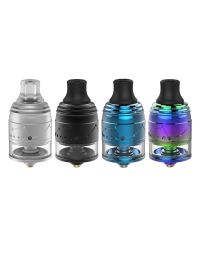
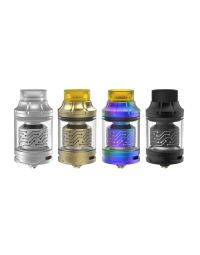
2.3 RTA - Rebuildable Tank Atomizer
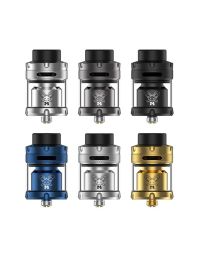
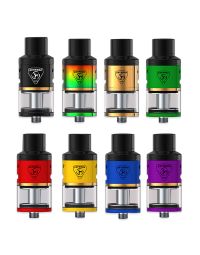
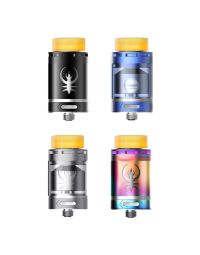
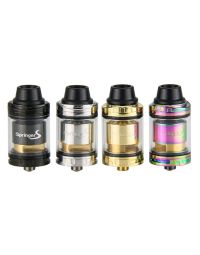
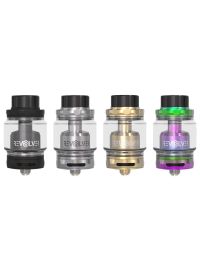
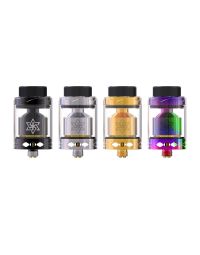
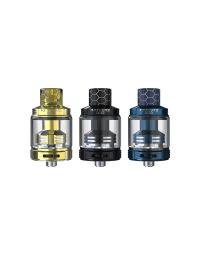
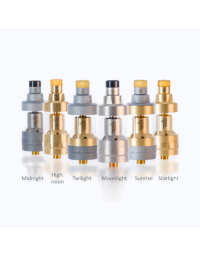
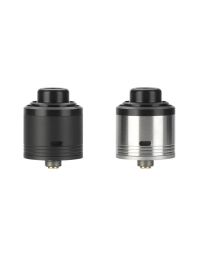
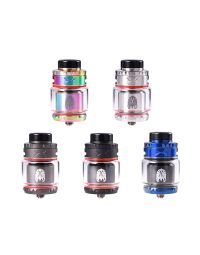
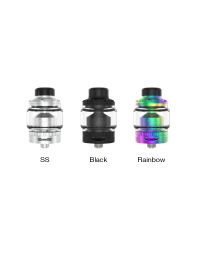
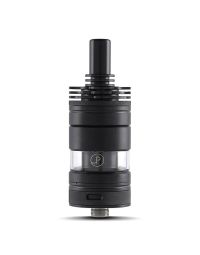
RTAs are the closest in design to stock-coil tanks. Like RDAs and RDTAs, they have a fixed build deck, but it sits underneath a chamber. The tank is, in a sense, around the build rather than underneath it.
They can be a little tricky to wick, because gravity and negative pressure also play a role here. Since the e-liquid sits above and around the build, it’s important to use the right amount of cotton to ensure good wicking – use too much and the cotton dries out; use too little and the deck floods, which can make the tank leak.
The important thing is that the cotton completely fills the cut-outs at the edge of the build deck, without being stuffed in too tightly, otherwise too little e-liquid will flow through. How much you actually need depends on the atomizer itself, so it’s hard to generalise. The motto here is: try it out.

|
|
2.4 RBA - Rebuildable Base Atomizer
An RBA is probably closest to an RTA, because an RBA is basically a stock coil that you can rebuild yourself. There are now quite a few stock-coil tanks for which the manufacturer also offers an RBA section. To be honest, we’ve rarely had truly good experiences with them, which is why we recommend anyone who wants to build their own coils goes for a proper rebuildable rather than one of these hybrids.
3. Coil building basics
3.1 Installing the wire
There are lots of different build decks, but they all have one thing in common: the positive and negative posts are insulated from each other. That means the electrical circuit between the mod and atomizer is interrupted between the two posts where the wire is fixed. Our job is to bridge that gap with wire and close the circuit.
In practical terms, you screw one end to the positive post and the other to the negative post. If you install two coils, you do this in parallel.
If you install two coils, make sure the individual wire lengths are the same and that they only touch the deck where they’re screwed down. I’ll explain why in the next section.
3.2 Dry burning
Dry burning is done to make the coil heat up evenly. It also changes the resistance, which then stays stable, with small deviations depending on the alloy. So it’s quite possible for a build calculated at 0.2Ω to read 0.1Ω before dry burning and 0.2Ω afterwards.
We don’t do this by holding the fire button down continuously; you’ll see why as soon as you try it for the first time. Instead, we use short pulses: fire for one second, wait one second, and so on. Keep going until the wire no longer glows at the outer ends, but evenly from the centre out.
The wattage we use for dry burning depends on the resistance of the coil. For example, at 0.3Ω use 15-20W; at 0.15Ω, use between 30W and 40W. Or put another way: about half the power you want to vape the atomizer at afterwards. Of course, that’s hard to judge at first, but if you roughly stick to the figures I just mentioned, it’ll work nicely.
If you spot small, brighter areas on the coil while dry burning, these are called hotspots. You can remove them by gently scraping over them with ceramic tweezers.
Once your coils glow nice and evenly, let them cool down and then move on to wicking the cotton.
3.3 Wicking the cotton
How you wick the cotton depends heavily on the specific atomizer you want to build. It’s definitely worth watching a few YouTube videos for your particular atomizer.
Make sure the inside of the coil is nicely “filled”, but not so tight that you can barely pull the cotton through. If you can move it back and forth without much resistance, you’re good.
4. What do you need?
Naturally, this corner of the vape world also has plenty of accessories that can make coil building easier.
4.1 Tools for building your own coils
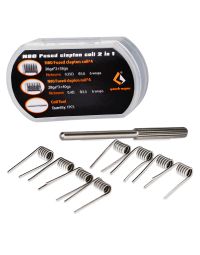
Several manufacturers offer so-called “coil building kits”. Inside, you’ll find practical tools for building atomizers.
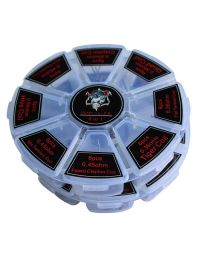
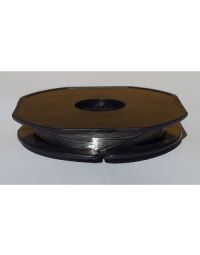
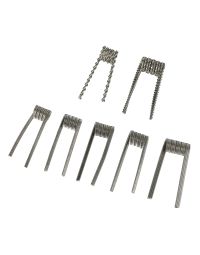
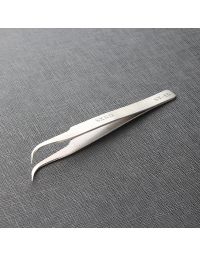
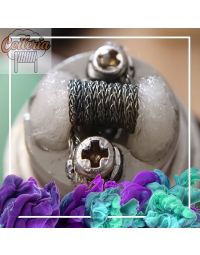
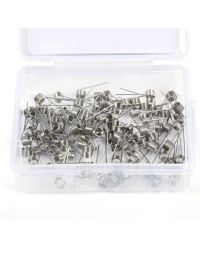
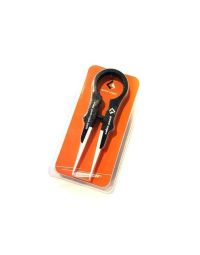
In my opinion, there’s only one thing you can hardly do without: ceramic tweezers. They’re used to shape the wire while dry burning and to remove hotspots. Because the tips of ceramic tweezers don’t conduct electricity or heat, they’re perfect for the job. A coil jig can also be useful if you want to use wire straight from the spool and wrap your own coils. Most people already have scissors for the cotton and side cutters to trim the wire at home.
4.2 Cotton for your atomizer
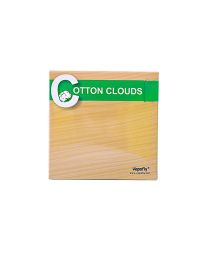
There’s a huge range of different cotton options. They differ in structure, capillary action and longevity. Which cotton you use is a matter of personal preference, so there’s no such thing as “the best” cotton on the market. Here, you can happily rely on tips from experienced vapers who have been building their own coils for a while, or simply try a few yourself.
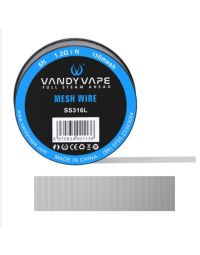
4.3 Wire and its properties
Since opinions differ massively here, we’ll stick to the basics - because everyone has different preferences when it comes to wire and resistance. That’s why I recommend trying out different build types, alloys and resistances. It’s the best way to find out what suits you and what doesn’t.
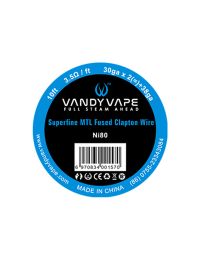
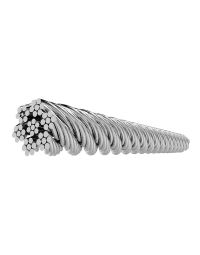
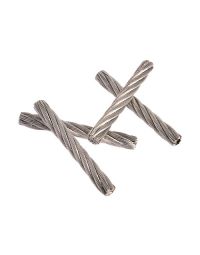
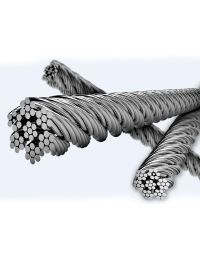
Alongside simple single wires, there are of course also wires made from several strands woven together. Since that would go beyond the scope of this post, we’ll leave that topic aside for now.
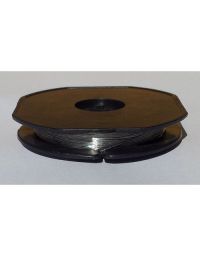
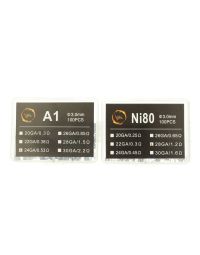
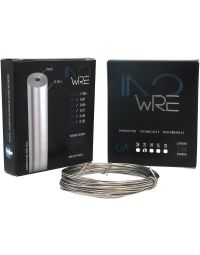
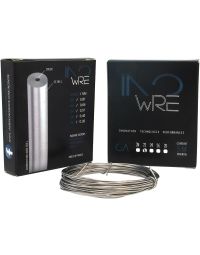
To still give you a quick overview of the different alloys, the most common ones are listed here:
|
Kanthal Kanthal is made from an alloy of iron, chromium and aluminium.
|
Stainless steel
|
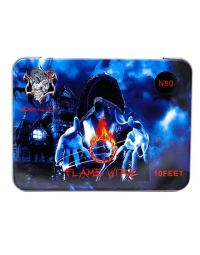
Nichrome Nichrome, as the name suggests, is made from nickel and chromium.
|
Of course, besides Kanthal, nickel-chrome and stainless steel, there are other alloys that can be used for vaping. There are also different NiChrome and stainless steel alloys that vary slightly from one another and are sometimes TC-capable, but we’ll cover that in more detail in a future post.
About me - After three years of vaping and over two years working in sales at the Zurich and Horgen shops, it was time for a change of scenery, and somehow I ended up in the endless depths of the Dampfi office. There, among other things, I discovered an unexpected love of writing, and in the future I’ll be bringing you plenty of informative, pointless, funny, helpful and silly posts. Requests, suggestions and criticism are always welcome and can be sent to [email protected].





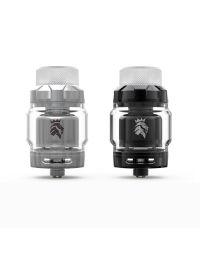
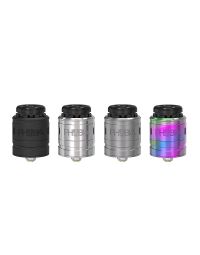
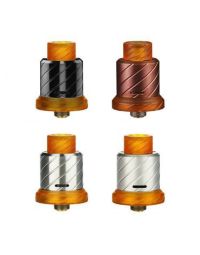
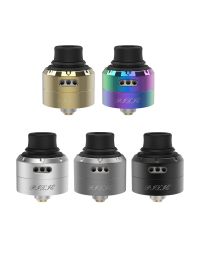


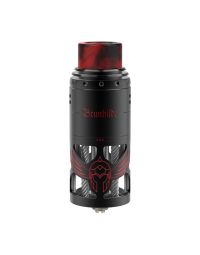
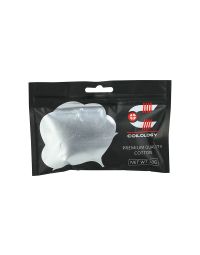
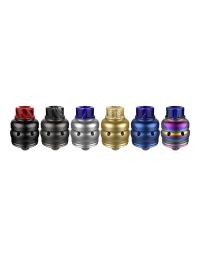
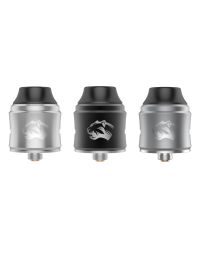
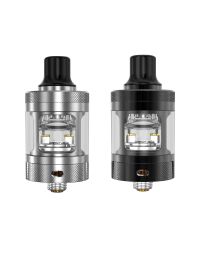
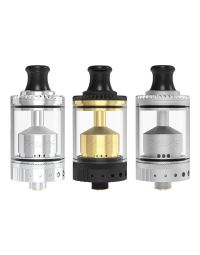
![SvoeMesto Kayfun [lite]](https://www.dampfi.ch/en/media/catalog/product/cache/6e07d0e8b94185af26caa986d2b4aaa2/s/v/svoemesto-kayfune-lite-01.jpg "SvoeMesto Kayfun [lite]")

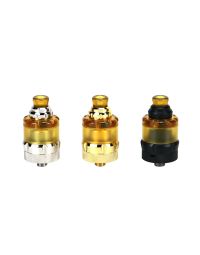
![SvoeMesto Kayfun [lite] Special Edition](https://www.dampfi.ch/en/media/catalog/product/cache/6e07d0e8b94185af26caa986d2b4aaa2/s/v/svoemesto-kayfun-lite-special-edition.jpg "SvoeMesto Kayfun [lite] Special Edition")







![Stattqualm SQuape A[rise] RTA 22mm MTL](https://www.dampfi.ch/en/media/catalog/product/cache/6e07d0e8b94185af26caa986d2b4aaa2/s/t/stattqualm-squape-arise-rta-22mm-mtl-1.jpg "Stattqualm SQuape A[rise] RTA 22mm MTL")